How to Add and Edit a User in Paladin Cloud Application
This document outlines step-by-step instructions for adding users, assigning roles, and managing user privileges within the Paladin Cloud application. Adding users is essential to grant access to the application, allowing them to explore and utilize the full capabilities of Paladin Cloud.
Managing user accounts in Paladin Cloud is essential for maintaining application security and controlling access to different features.
Adding a User to Paladin Cloud
- Log in to the Paladin Cloud application.
- Go to Admin -> Users.
- Click on Add User.

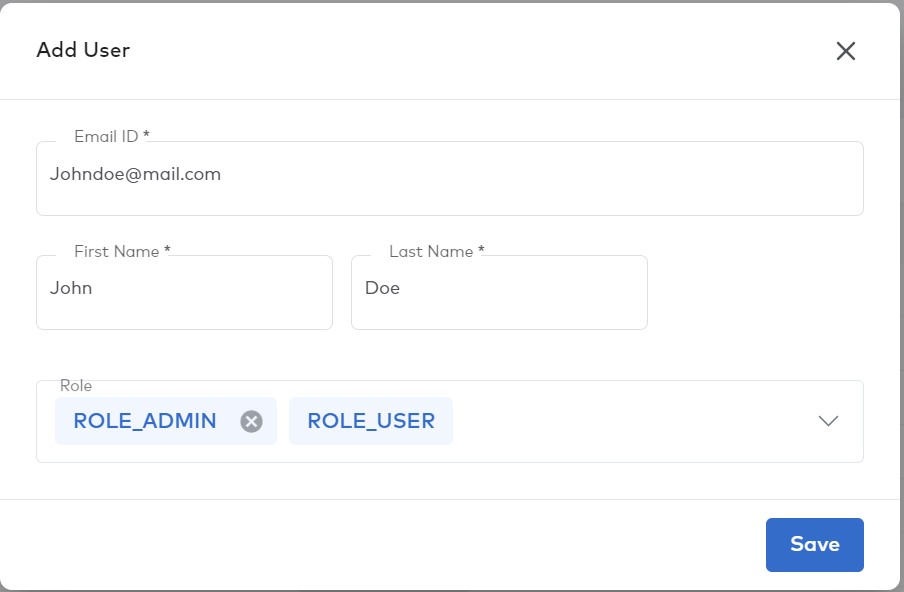
- Provide the user’s email ID, first and last name, and select the role.
– By default, ROLE_USER is selected, granting standard user access.
– To assign admin access, choose ROLE_ADMIN from the drop-down list.
- Click Save to add the user successfully.
- The user will receive an email with a login link and credentials.
- Upon the first login, the user will be prompted to change their password.
- The user now has the privileges associated with the assigned role.
Editing, Removing, or Deactivating a User
- Log in to the Paladin Cloud application.
- Go to Admin -> Users.
- From the list of users, identify the user you wish to edit, remove, or deactivate.
- Click on the Ellipsis Menu (three dots) beside the user’s status.
- To edit the user’s role:
- Click on Edit.
- Change the role of the user as required.
- Click Save to apply the changes.
- To remove the user from the list:
- Click on Remove.
- Confirm the action in the prompt.
- To deactivate the user:
- Click on Deactivate.
- Confirm the action in the prompt.
- The user’s status will change to Inactive.
![]()
- A confirmation message will be displayed once you edit, remove, or deactivate a user.
If you encounter any issues or have further questions about user management in the Paladin Cloud application, please get in touch with our support team at support@paladincloud.io