Create and Manage Asset Groups
Asset groups are essential for organizing and managing various components within your organization’s IT infrastructure. This guide explains asset groups and provides step-by-step instructions on creating, editing, and deleting them.
Understanding Asset groups
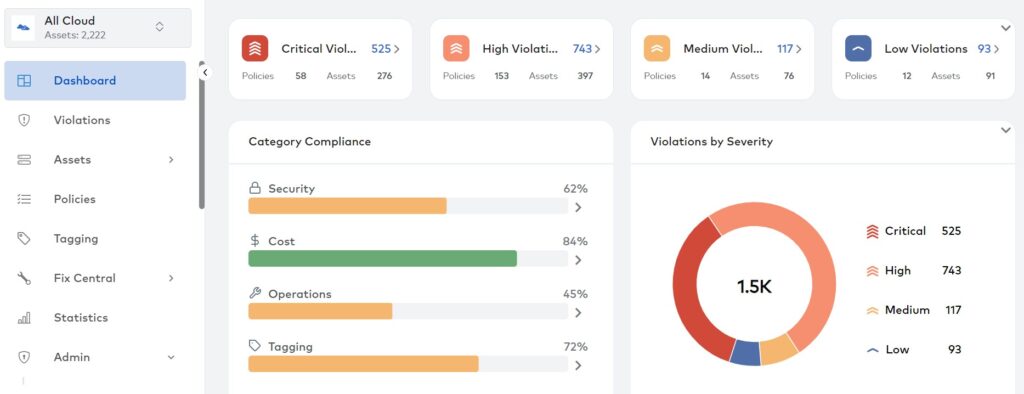
Asset groups are collections or categories of related assets in your organization’s IT infrastructure. These assets may include devices, software, resources, or other components requiring management, monitoring, or organization for security, compliance, or operational efficiency. Asset groups streamline asset management by allowing administrators to apply policies, access controls, or monitoring rules to multiple assets at once, based on their shared characteristics or functions. On the Paladin Cloud Interface, everything you see on the Dashboard, the violations, and the Assets in the user interface (UI) is scoped to the asset group that has been selected.
Creating an Asset Group
Follow these steps to create an asset group.
- Log in to Paladin Cloud as an admin user.
- Click on Asset Group under the Admin section on the left side of the interface.
This displays the Asset Groups page.
- Click on the Create Asset Group button on the top right of the page.

- In the Asset Group Details section, provide the following information:
– Name : Eg: All Cloud
– Description: Eg: Asset group that captures information for all clouds
– Type: Eg: Admin
Note: The Created by field is pre-filled with your login ID.
- Click Next.
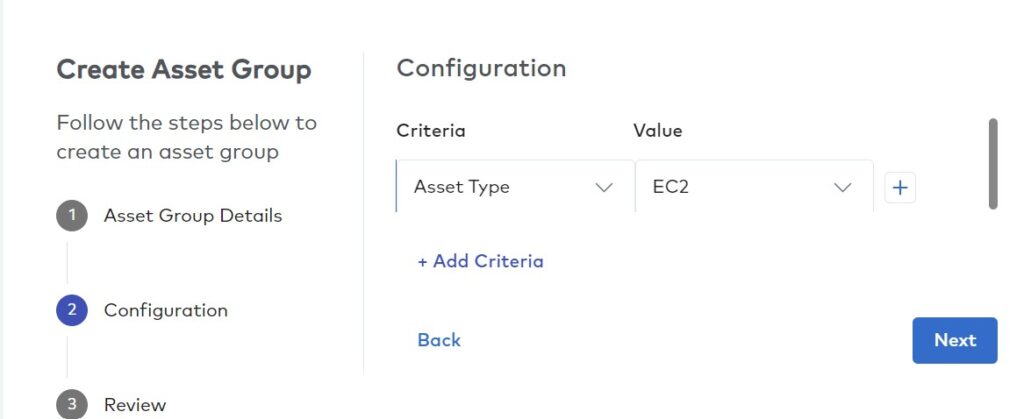
- In the configuration section, select Key and values from the dropdown menus.
- Click Next to proceed.
- Review the details you’ve entered and click Confirm and Create to create a new asset group.
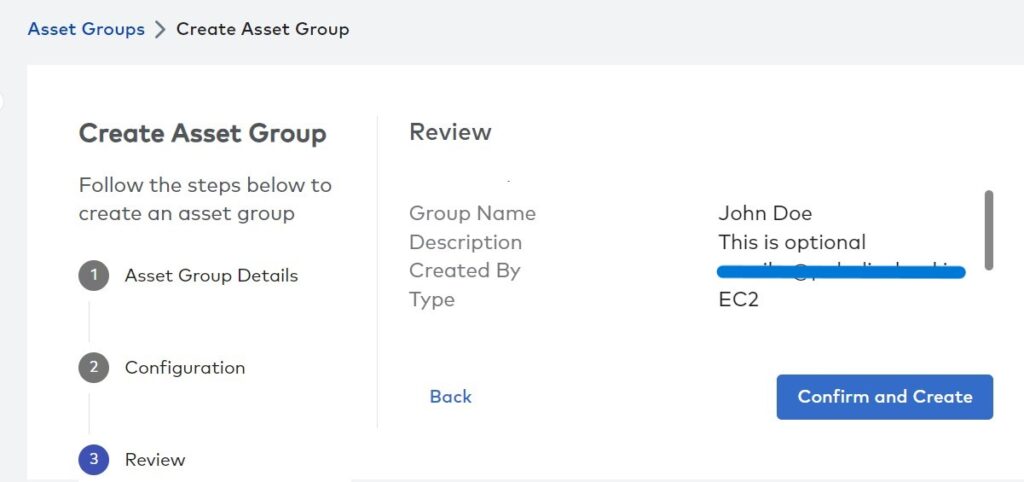
A confirmation message will be displayed, indicating that the asset group has been successfully created.
The created asset group will now be available to be selected in the asset group selector.
Sample Asset Group
Here are a few sample asset groups to illustrate the process of creating one in more detail:
Example 1: To create an asset group to capture information across all clouds:
- Choose Cloud Type from the Key dropdown and ‘AWS‘ from the Value dropdown.
- Click the +Add Criteria to add an OR condition and then select Cloud Type from the Key dropdown and Azure from the value dropdown.
- Click +Add Criteria again to add another OR condition, and then select ‘Cloud Type‘ from the Key dropdown and ‘GCP‘ from the value dropdown.
- Click Next to proceed.
- Review the details you’ve entered and click Confirm and Create to create a new asset group.
The created asset group will now capture information across all clouds and will be available to be selected in the asset group selector.
Example 2: To create a region based asset group related to AWS:
- In the configuration section, select ‘Key’ and ‘Value’ from the drop-down lists.
- Choose Region from the Key dropdown and us-east1 from the Value dropdown.
- Click the + icon located next to the Value dropdown.
- Choose Region from the Key dropdown and us-east2 from the Value dropdown.
- Click Next to proceed.
- Review the details you’ve entered and click Confirm and Create to create a new asset group.
The created asset group will now capture information about the selected two regions and will be available to be selected in the asset group selector.
Note: Please note that you have the flexibility to choose any other regions that best suit your requirements. The examples provided here, ‘us-east1’ and ‘us-east2,’ are for illustrative purposes.
Selecting/Switching Asset Group
To select the Asset group from the Asset group selector or to switch to a different asset group:
- Click on the Asset group on top left.

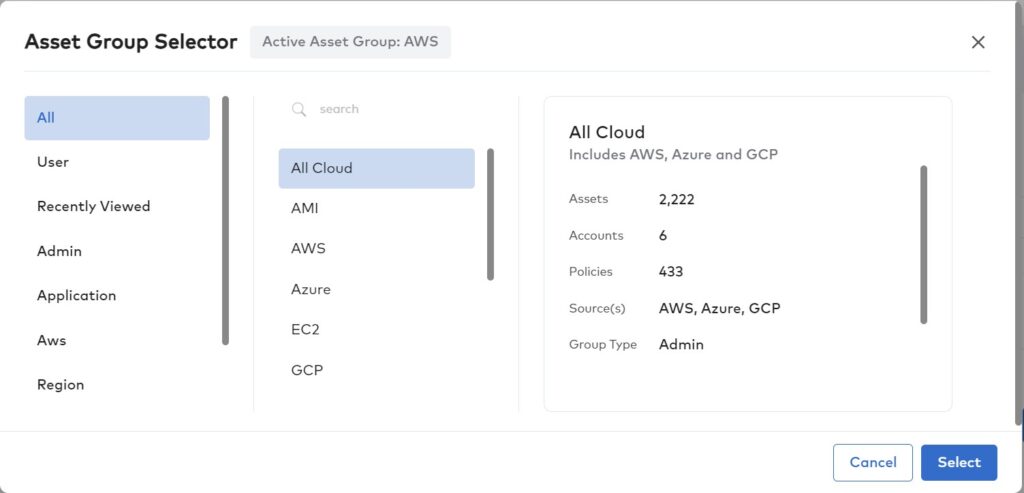
This opens the Asset Group Selector
- Select the Asset group from the list and click Select.
This displays the selected asset group on the Dashboard, the violations, Assets and Policies.
Editing an Asset Group
To edit an existing asset group, follow these steps:
- Log in to Paladin as an admin user.
- Click on Asset Group under the Admin section on the left side of the interface.
- Locate the asset group you want to modify and click on the three dots (ellipses) at the right end.
- Select Edit from the options provided.
This will open the Edit Asset Group page, where you can Rename, change the Type, and add or delete the And/OR criteria.
- Make the required changes.
- Click Confirm and Update to save your modifications.
Deleting an Asset Group
To delete an asset group, use the following steps:
- Log in to Paladin as an admin user.
- Click on Asset Group under the Admin section on the left side of the interface.
- Find the asset group you wish to delete and click on the three dots (ellipses) at the right end.
- Select Delete from the options presented.

- You will be prompted to confirm the deletion action.
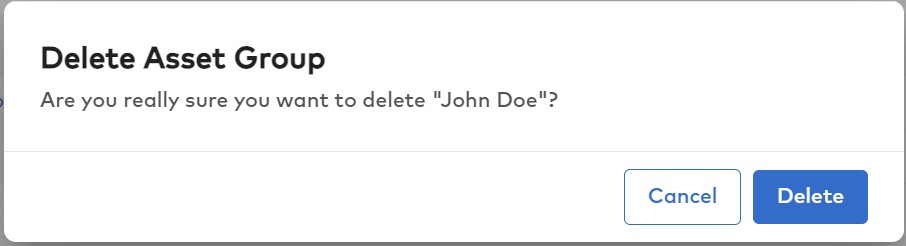
6. Click Delete, and the asset group will be permanently removed.
By following these steps, you can effectively create, edit, and delete asset groups to better manage and organize your IT infrastructure assets.