Edit Policies from the Admin Screen
Policies play an important role in cloud security, serving as the rules, guidelines, and procedures that safeguard data, applications, and resources. They ensure secure and compliant use of cloud services and help you mitigate risks while maintaining their cloud-based assets’ confidentiality, integrity, and availability. On the Paladin Cloud platform, you can use the policy admin screen to:
- Enable/Disable a Policy
- Change the Severity/Category
- Modify the Policy Parameters when applicable
- Enable Auto fix (please check our Auto-fix document for the list of Auto fixes and the permissions needed)
Note: Admin access is required to edit or disable policies.
This document will walk you through the steps to effectively manage policies using the Paladin Cloud admin interface.
Editing a Policy
Policies should be reviewed regularly and edited to accommodate changing business needs, security requirements, compliance regulations, and more. To edit a policy, follow these steps:
- Log in to Paladin Cloud as an admin user.
- Navigate to the Admin section on the left side of the interface and click on Policies.
- This displays the complete list of policies.
- Filter policies based on their Source (Cloud), Severity, auto-fix, Status, and other criteria.
- Click on the policy that you want to edit.
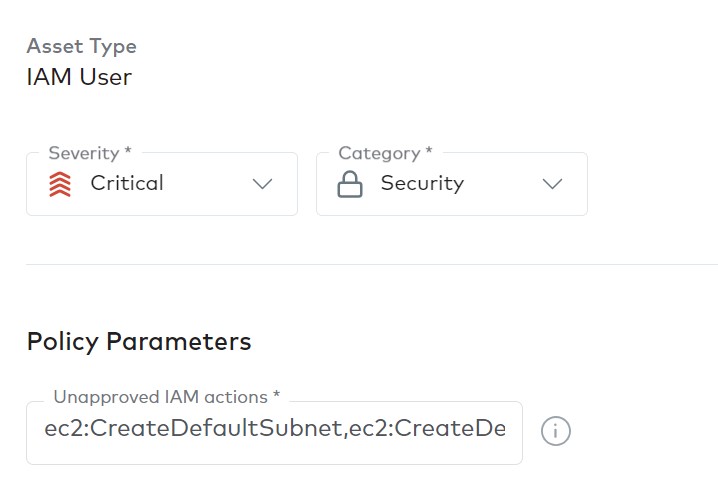
This will display the policy details. The policies that have an auto fix available are shown with a bulb icon before the policy name.

- You can change the Severity, Category, Policy parameters (if applicable), and auto-fix (if applicable) using the drop-down lists. For more detailed information on auto-fix, please refer to our Auto-fix document.
- Click Save.
- You will receive a confirmation message indicating that the policy has been updated successfully.
Disabling a Policy
Policies may need to be temporarily disabled for various reasons such as security compliance, risk management, security breaches, or user access management. Follow these steps to disable a policy:
- Log in to Paladin Cloud as an admin user.
- Navigate to the Admin section on the left side of the interface and click on Policies.
- This displays the complete list of policies.
- You can filter policies based on their Source (Cloud), Severity, Status, and more.
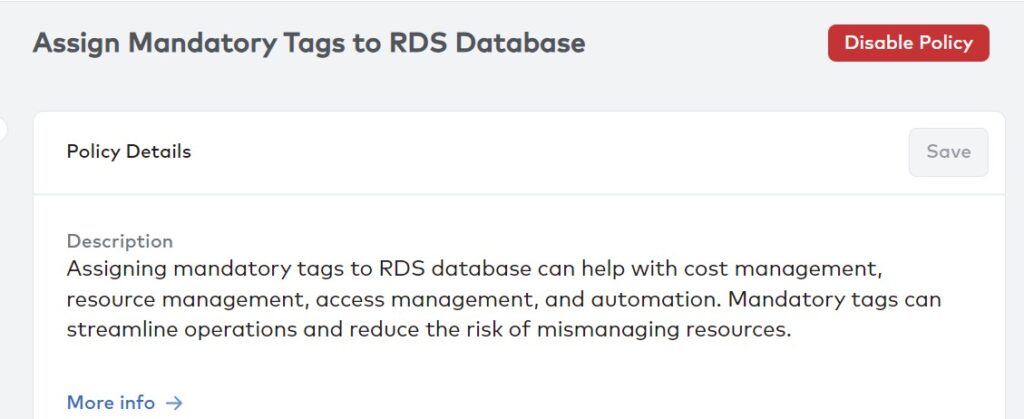
- Click on the policy that you want to disable.
- On the right corner of the page, click the Disable Policy button.
- Provide a Reason for disabling the policy and specify the date until which the policy should remain disabled.
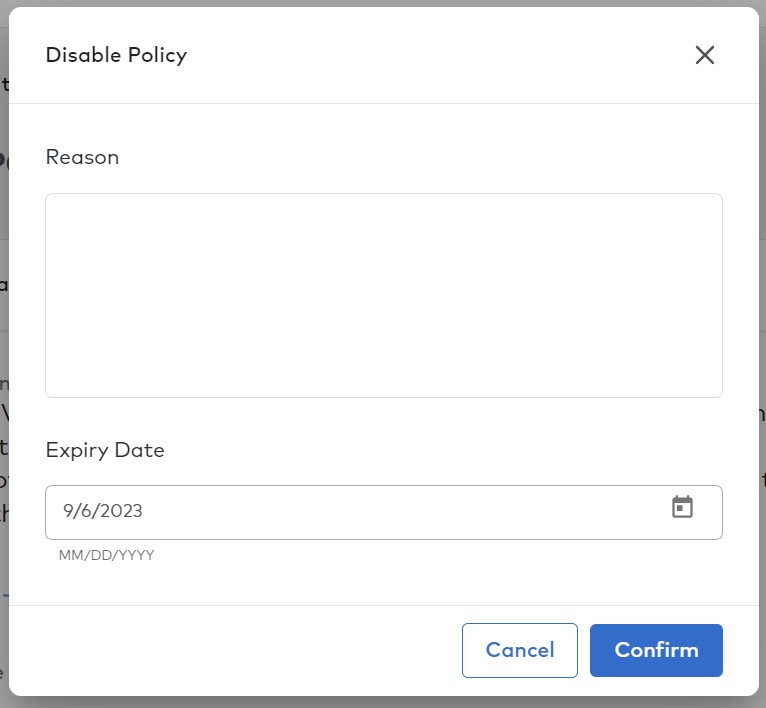
- Click Confirm.
You will receive a confirmation message indicating that the policy has been disabled by the admin, along with the date it will be enabled again.
- Click Save.
You will receive a confirmation message indicating that the policy has been updated successfully.
Enabling a Policy
To re-enable a previously disabled policy, follow these steps:
- Log in to Paladin Cloud as an admin user.
- Access the Admin section on the left side of the interface and click on Policies.
- You will see the complete list of policies.
- You can filter policies based on their Source (Cloud), Severity, Status, and other criteria.
- Click on the policy that you want to enable.
- On the right corner of the page, click the Enable Policy.
The policy will be enabled.