How can we help?
Connect to the Portal after Installation
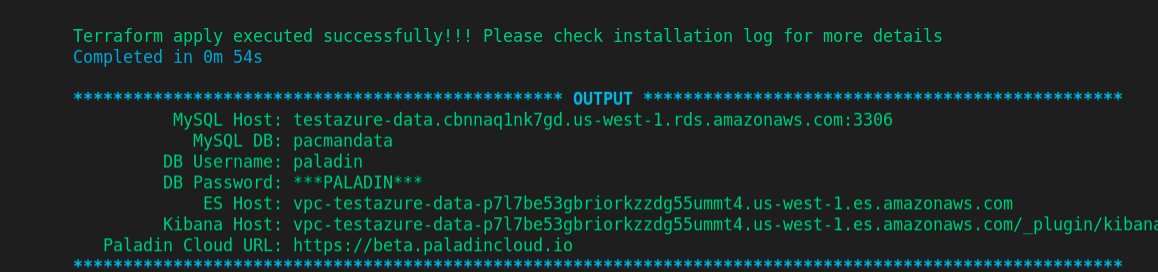
This document describes the process of connecting to the portal after a successful installation. Once the installation is complete, you get the Paladin Cloud URL. The URL differs based on the configuration (Internal/External). If the installation is configured with AWS Internal URL, you can access it through VPN or Windows VM. If it is configured for a specific domain, you have to do a security group change.
For Windows VM
- Once the installation is complete, use the Paladin Cloud URL and relevant login credentials to log into the Paladin Cloud application.
- Go to the EC2 Console.
- On the Instance page, click Launch Instance.
- Add a name for the Instance.
- In the Application and OS Images (Amazon Machine Image), Select Windows from the quick start option.
- From the Instance Type drop down select the instance type you require. It is recommended to use t3.micro
- Add the Key Pair.
- Go to Network settings and select the VPC you have used during the installation.
- Click Launch Instance
For detailed instructions on connecting to a Windows VM in different environments, please consult the following document:
Connect to your Windows instance
For VPN
Use the following link for steps for the VPN:
https://docs.aws.amazon.com/vpn/latest/clientvpn-admin/cvpn-getting-started.html